When Life Gives You Lemons, It’s Time for Dessert.

It was my birthday last month, and being someone who loves to read and cook to my heart’s content, I must admit.. I pray for cookbooks. It may sound corny, but my heart jumps with glee when I unwrap one. No joke.

This year, my sister Rachel sent me the new book by Hugh Fearnley-Whittingstall, ‘Hugh’s Three Good Things on a Plate’. I’ve always been a big fan of Hugh and the folks at River Cottage due to their wonderful food ethos and hard-hitting campaigns on animal welfare and fish sustainability, as well as promoting the act of growing your own fruit and vegetables and living off the land.

http://sphotos-a.xx.fbcdn.net/hphotos-frc1/p480x480/598493_384967811584063_62273734_n.jpg

I really like the simplicity of this book. There are no overly fussy recipes in sight or ingredient lists the length of your arm and in cooking there doesn’t need to be. I really believe that if you use the freshest, best quality ingredients you can find, they will sing all by themselves with very little help. Although there are generally more than three ingredients used in each of the recipes, there are three ‘main’ ingredients that comprise each dish.

As it says in the introduction:

“This book is not about exotic ingredients or trendy techniques. Nor is it a polemic about shunning certain foods or worshipping others. It’s about recognising a simple pattern that already underpins many well-loved dishes.. They [are usually] little more, and little less, than three good things on a plate.”

Living with Martina, who, when it comes to biscuits, is all about the gingernut, the obvious three good things to tackle first was the condensed milk, lemon and gingernut combo. I say ‘tackle’, but there is really little more to do than mixing them together with some double cream, so it was deceptively easy. Great when you know you’ll want dessert after dinner but are strapped for time, or cash for that matter! It’s very much a store cupboard kind of recipe afterall. The condensed milk and biscuits will last in the cupboard for ages and if you happen to have a few lemons knocking about in your fridge like I tend to, then all you have to get is some cream! A nice solid standby recipe that can be whipped up at a moments notice, then left to do it’s thing in the fridge.

Lemon Pudding 1

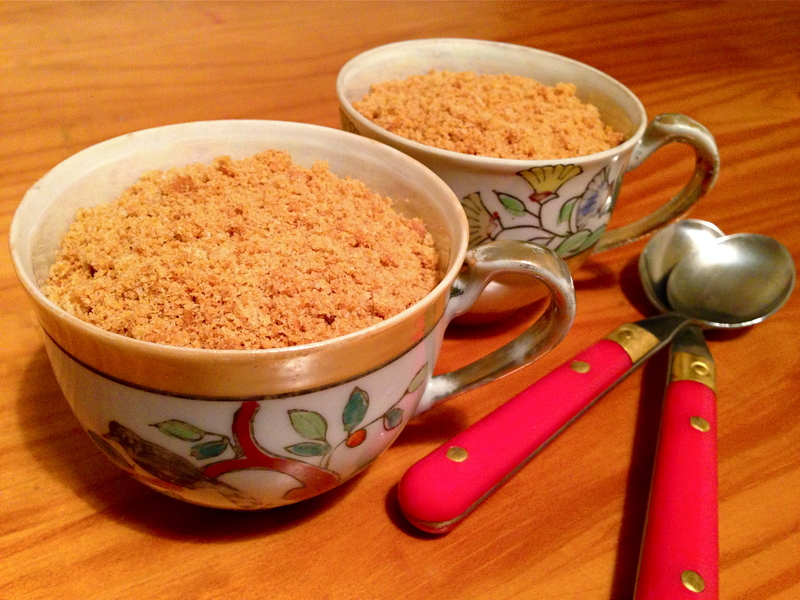
Lemon Pudding (Serves 6)

(From ‘Hugh’s Three Good Things on a Plate, by Hugh Fearnley-Whittingstall)

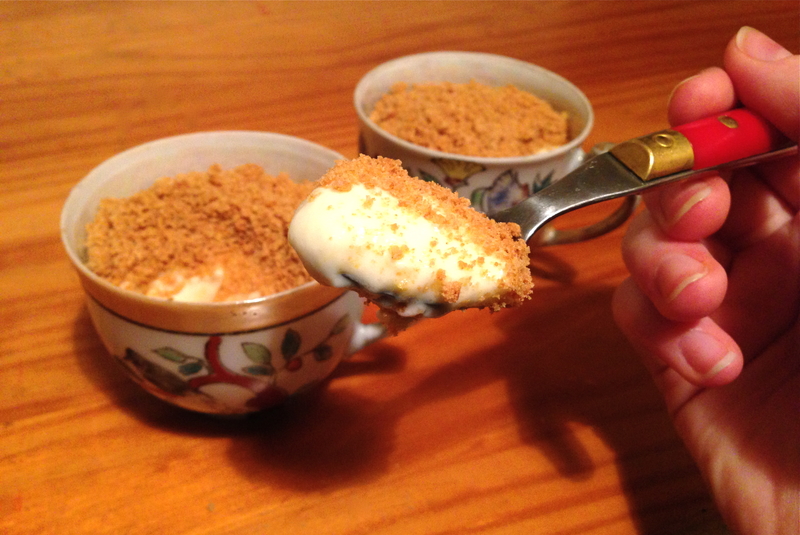
“This is an incredibly easy and deliciously retro pud. The idea of ‘setting’ condensed milk with lemon juice goes back to recipes-on-the-back-of-the-tin in the 1970’s, or earlier. It’s a neat trick, and a yummy one. The lemon cuts the intense sweetness of the condensed milk perfectly and the crushed biscuits on top give a sort of upside-down-cheesecake effect.”

4 large lemons

400g tin sweetened condensed milk

150 ml double cream

12 gingernut biscuits

Method

Finely grate the zest of two of the lemons. Squeeze the juice from all of them and strain it to remove any pips and fibres. Measure out 150ml strained juice.

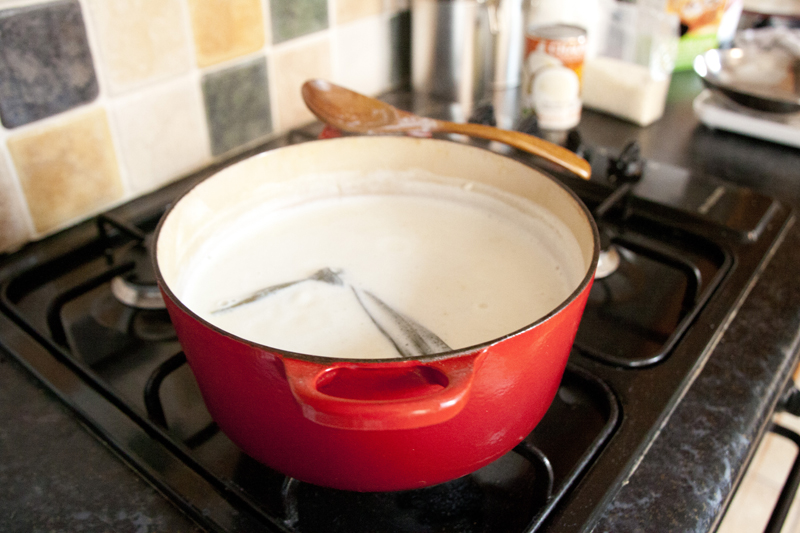
Tip the condensed milk into a large bowl and stir in the cream. Add the lemon zest and juice and stir until the mixture is thick and smooth.

Divide evenly between 6 small cups or glasses and chill for several hours, until set.

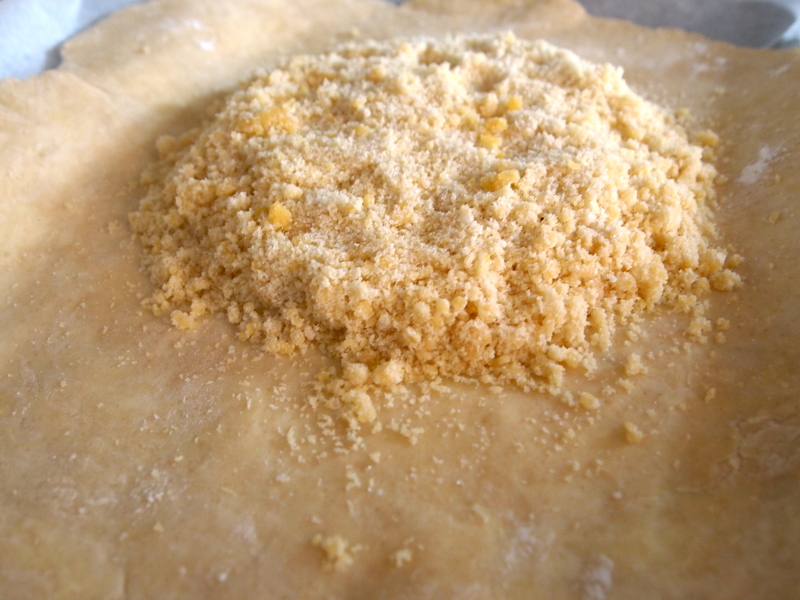
Crush the biscuits to fine crumbs and scatter thickly over the top to serve.

Lemon Pudding 2

 I only needed 3 lemons when I made this to get the 150mls of juice you need, but maybe have a fourth one handy just in case. Best to have too much than too little I guess. I didn’t see the need in straining the juice either and it turned out just fine, no fibres or pips to be found!

Oh, and whilst we’re on topic, I am wholeheartedly a sucker for condensed milk. Oh sorry, I meant pure condensed ethereal joy. Old-fashioned it may be, but this stuff is like sweet liquid manna sent from heaven!

The Glorious Galette

‘As easy as pie’. That has got to be one of the most misleading phrases in the world. Not that making a pie is difficult per se, but tender, flaky pastry does not come easily if the baker in question ain’t got skills. There’s the risk of a tough, over-worked crust or a soggy base if you’re not careful. If pie is so easy, then how come an amazing one is so hard to find? What is the solution?! I think somewhere along the line the French must have caught wind of this and created the galette; a free-form tart in which the pastry is simply rolled out and roughly folded around the edge of the filling. There we go, take away the formality of baking in a perfectly fluted pastry case and, BOOM.. easy. Facile as a french tart.

My first attempt at a galette was using quite an unusual fruit I spotted whilst doing my grocery shopping. The nectacot. Cross-pollination gives this little fruit the flavour of an apricot but with the juiciness of a nectarine, which as you can probably imagine tasted pretty good! After biting into this questionable specimen to deduce it’s calling in life, I decided that its sweet yet tart flavour and dense texture would lend perfectly to a simple fruit tart in which the fruit is the main attraction.

nectacots

Nectacot Galette (Serves 6-8)

For the flaky pastry

200g/6 1/2 oz plain flour (1 1/4 cups all-purpose)

1 Tablespoon caster sugar (superfine)

125g/4oz very cold butter, cut into 1/2 inch cubes

3 Tablespoons ice water, plus extra if needed

For the filling

125g/4oz (3/4 cup) ground almonds

60g/2oz (1/4 cup) caster sugar (superfine), plus 3 Tablespoons to sprinkle on before putting in the oven

finely grated zest of 1/4 lemon

1 large egg yolk

Roughly 600-700g (or 1.25 lb – 1.5 lbs) nectacots/nectarines, thinly sliced

15g (1 Tablespoon) butter, cut into small pieces

Method

To make the pastry: Measure the flour and sugar onto a large, flat work surface and spread out until about 1cm thick. Scatter the cubes of cold butter over the flour and toss a little flour over the butter so that your rolling pin doesn’t stick, and then get to rolling! Many pastry recipes call for the dough to be chilled before rolling, however this one benefits from being rolled out straight away.

butter & flour

When the butter starts flattening into long, thin sheets within the flour, use your hands or alternatively a bench scraper to bring in any remaining flour that has not yet been incorporated. Repeat the rolling and scraping 3 or 4 times before drizzling over the ice water. Mix with a fork until the dough is just about holding together and flatten into a disk.

Scrape your work surface clean and lightly dust with flour. Flatten the disk with 6-8 gentle taps of the rolling pin. Lift the dough and give it a quarter turn. Aim to handle the dough as little as possible as this will give you the flakiest crust! Continue to do this until you are left with a 30cm/12 inch circle. Place the dough onto a parchment lined baking sheet.

Dough

In a small bowl, stir together the ground almonds, the 60g caster sugar, lemon zest and egg yolk. Spread the mixture into a 20cm/8 inch circle in the centre of the dough.

Fan out the fruit over the almond mixture leaving a 4cm / 1.5 inch border of dough uncovered along the edge. Fold the edge of dough over the fruit, pleating it loosely and leaving the galette uncovered in the centre. Sprinkle the nectacots with the remaining 3 tablespoons of sugar and dot with the butter. Refrigerate the galette until the dough is firm, at least 30 minutes.

nectacot galette

galette

In the meantime, preheat the oven to 190°C/375°F. When out of the fridge, bake the galette for about 45-50 minutes until the crust is golden brown and the fruit tender.
Let cool for 20 minutes or so before serving.

I love this recipe for its simplicity and the fact that it is so versatile. The types of fruit you can use in this recipe is endless. Why don’t you try apples, pears, figs, plums or pineapple? Maybe even incorporate some dried fruit with the fresh. There are so many possibilities that I’m looking forward to trying out too. This rustic french tart with its deliciously flaky crust, vibrant crown of fruit and not to mention the moist almond interior is a dead cert winner.

galette

Absolute Ambrosia

Before you start thinking I’m about to give you a recipe with a method of,

‘1. Grab a tin opener.

2. Open the tin.

3. Serve. Enjoy your bowl of rice pudding folks!’

I must stop you in your tracks. This pudding could most definitely be defined as ambrosia, in the ‘food of the gods’ sense only though, as it has way too much personality (and rice for that matter) to be affiliated with that from the can. In saying that I really don’t mind the tinned stuff too much but when compared with this toothsome beauty it suddenly becomes redundant.

Rice Pudding 1

There are days where only a bowl of warm homemade rice pudding will do and this one ticks all of the boxes. The aroma that filled my kitchen whilst making this was so heavenly I struggle to find the words to do it justice. This coconut rice pudding, infused with pandan and just a hint of vanilla, was subtle yet somehow the flavours were distinct enough to evoke the beautiful flavours I have tasted whilst visiting family in Malaysia. Pandan is a tropical plant which is used widely throughout Southeast Asian cuisine as a flavouring or, when blended with a little water, a vibrant green food colouring. It can be used in either sweet or savoury dishes and is complemented wonderfully by coconut. I find this recipe works incredibly well using sushi rice, not only just in keeping with the other asian ingredients I have included here but mainly because the grains are lovely and plump, making it texturally very satisfying to eat.

Rice Pudding 2

Coconut Pandan Rice Pudding (Serves 6)

2 Tablespoons sunflower oil

200g (7 oz) sushi rice or regular short-grain rice

1.25 litres (44 Fl oz/5 cups) full fat milk

250ml (1 cup) coconut milk

1 pandan leaf, folded in two and knotted

1 teaspoon vanilla bean paste or a vanilla pod

60g caster (superfine) sugar (2oz)

Method

Heat the oil in a heavy based pan then add the rice and gently stir to warm it and coat the grains. Add the milk, coconut milk, knotted pandan leaf and vanilla bean paste (if using a vanilla pod just split it in two, scrape out the sticky black seeds with the back of the knife and add it to the pot along with the split pod). Bring to the boil. Lower the heat and simmer for about 10 minutes, stirring quite often so that it doesn’t stick to the bottom of the pan.
Add the caster sugar, then let it simmer for another 10-15 minutes stirring frequently as before until the rice is tender and has a nice thick consistency.

This is delicious eaten warm, although it also makes a mighty tasty breakfast the following day with a healthy spoonful of jam! Although I’m usually a raspberry jam kind of girl I opted for a high fruit strawberry jam this time around.
Next time I might be tempted to try pineapple for a more authentic combination, although any type will do really depending on your preference and what you happen to have on hand!

Rice Pudding 3